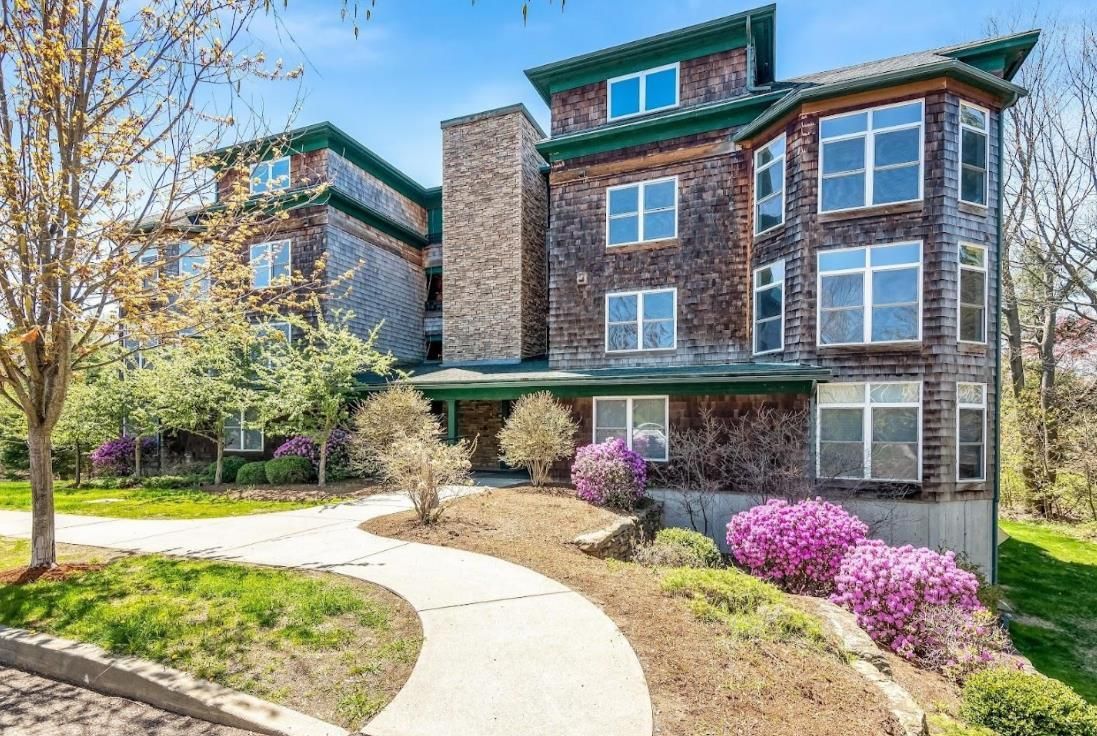
Gallery

CONTACT US
24/7 Emergency Line: 802-860-5050 ext. 9
(802) 862-4438
info@ppmvt.com
Office Location & Mailing Address:
20 Farrell St, #102, So. Burlington, VT 05403
ASSOCIATIONS & AFFILIATIONS
Our role as a management company is to manage the facility. We do not rent these units out. Those seeking a rental should contact a local rental agent.
State of Vermont Licensed Residential Contractor 174.0000052
